Rapidoman 2011
LIFE MEMBER
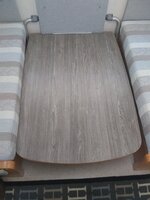
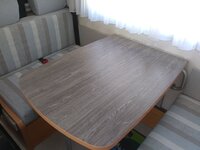
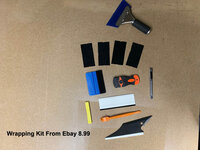
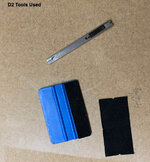
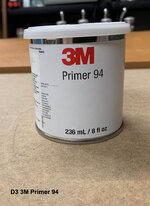
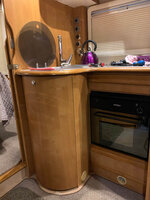
So those of us out there in the older vans like to update and upgrade things where we can, So here is a small job for the weekend. First of all decide what color wrap you want, then have a look at the different thickness's you can get. I used a company known as Wrap Direct, l ordered some samples, then listened to the wife and her jumping record impression, so it was a case of No, No, No, Yes and that was it, Pearl Gloss Vinyl with ADT, (Air Drain Technology) makes it better to use. Next job, order a cheap set of Wrapping tools from Ebay £8.99 (Pic D-01-D-02) and grab yourself a small tin of 3M 94 (D-03), This helps with adhesion. That's it ready to go.
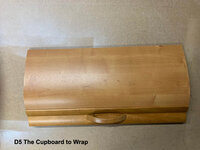
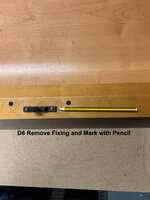
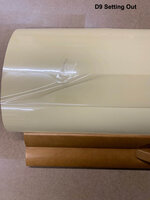
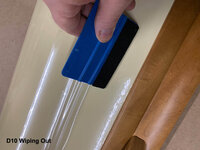
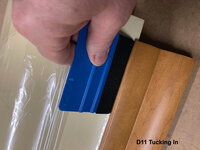
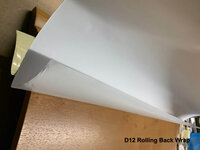
Next remove first cupboard door, keep it simple go for the easy one (D-05) mark catch with a pencil and remove, don't want wobbles, Apply one even coat of 3M-94 and allow to dry. Measure the door and allow some extra at each side and top/bottom. Place your wrap the door to check it covers then remove approx, 4 inches of the backing and place onto door (D-09) Now using the wiping out tool push any air bubbles out (D-010 and D-011) Don't be afraid to lift and place back, just make sure you wipe out every bit. Now turning the Door round, remove the rest of the backing by wiping into it as you remove it (D-012) One final wipe over then remove the protective film from the wrap. I did not fold mine at the edges as it looked better cut off, D-014 shows the finished door. Example of before and after at the end.
Next remove first cupboard door, keep it simple go for the easy one (D-05) mark catch with a pencil and remove, don't want wobbles, Apply one even coat of 3M-94 and allow to dry. Measure the door and allow some extra at each side and top/bottom. Place your wrap the door to check it covers then remove approx, 4 inches of the backing and place onto door (D-09) Now using the wiping out tool push any air bubbles out (D-010 and D-011) Don't be afraid to lift and place back, just make sure you wipe out every bit. Now turning the Door round, remove the rest of the backing by wiping into it as you remove it (D-012) One final wipe over then remove the protective film from the wrap. I did not fold mine at the edges as it looked better cut off, D-014 shows the finished door. Example of before and after at the end.
Attachments
-
 D-01.jpg98.9 KB · Views: 732
 -
 D-02.jpg166.5 KB · Views: 558
 -
 D-03.jpg85.7 KB · Views: 541
 -
 D-05.jpg80.9 KB · Views: 551
 -
 D-06.jpg107 KB · Views: 548
 -
 D-07.jpg110.7 KB · Views: 561
 -
 D-09.jpg55.9 KB · Views: 574
 -
 D-010.jpg71.7 KB · Views: 580
 -
 D-011.jpg74.5 KB · Views: 595
 -
 D-012.jpg51.6 KB · Views: 623
 -
 D-014.jpg61.3 KB · Views: 708
 -
 F-02.jpg112.8 KB · Views: 745
 -
 F-03.jpg117.4 KB · Views: 748
")