highlight the text and click on quote when the button pops up
Many thanks,
As with all things, easy when you know how !


Follow along with the video below to see how to install our site as a web app on your home screen.
Note: This feature may not be available in some browsers.
highlight the text and click on quote when the button pops up
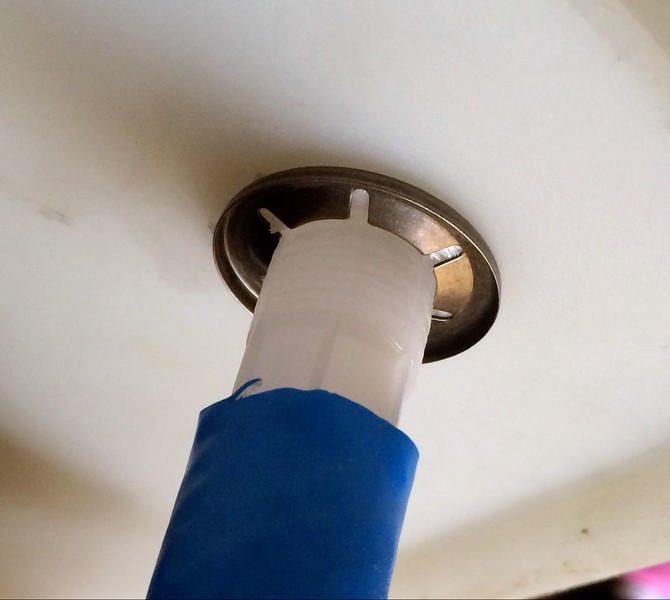
Foam Tape Extra Sticky Backed Single Sided Self Adhesive Dark Grey - 10mm Thick from EBay.
Subscribers do not see these advertisements
LOL you learn something new every day., thanks for making my life easier in future, as I did that post by copy n paste lolhighlight the text and click on quote when the button pops up
Subscribers do not see these advertisements
Subscribers do not see these advertisements
Subscribers do not see these advertisements
")
 ).
).
 We'll tidy it up later.
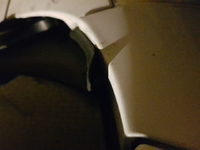
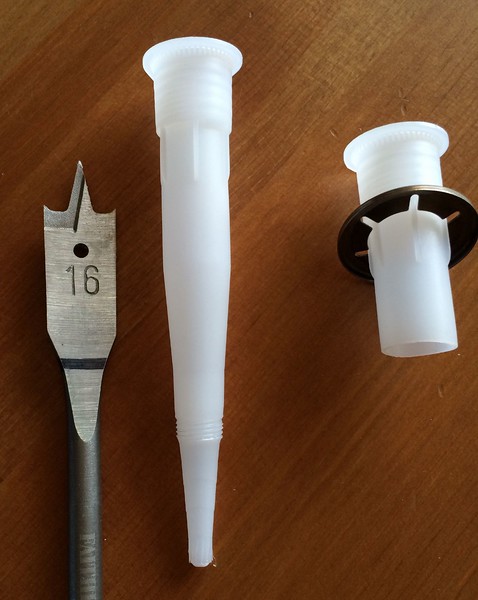
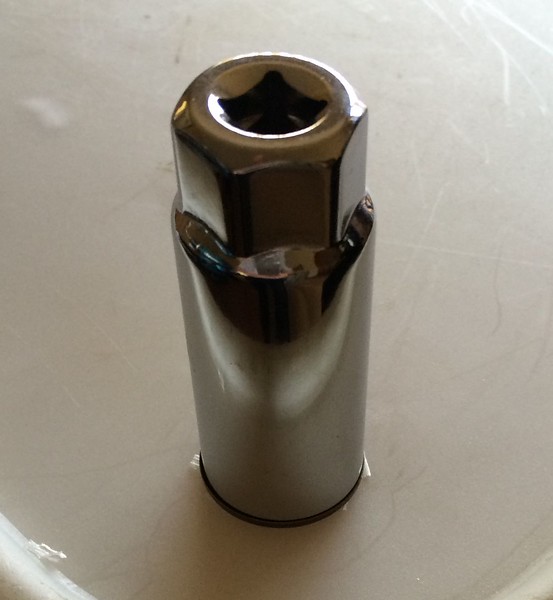
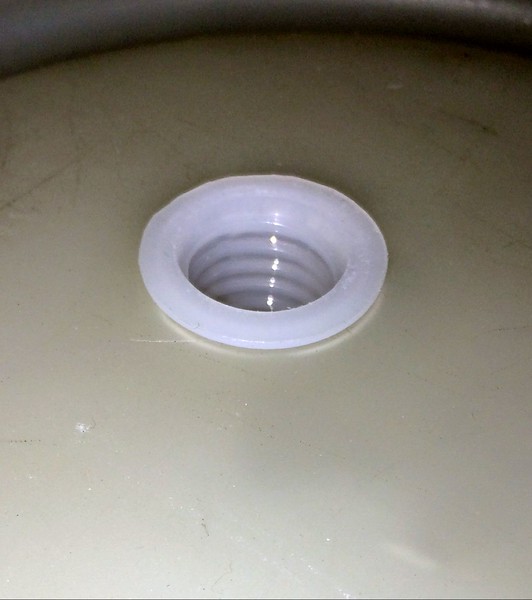
Andy - looks like a great solution - can you post a list of components and can you let us know where you got your star washers from and what size?...sorry you might have already done this....many thanks in anticipation topcat57ukI've yet to strip and seal my scuttle but having seen other peoples methods I believe this is a quite ingenious and cheap alternative.
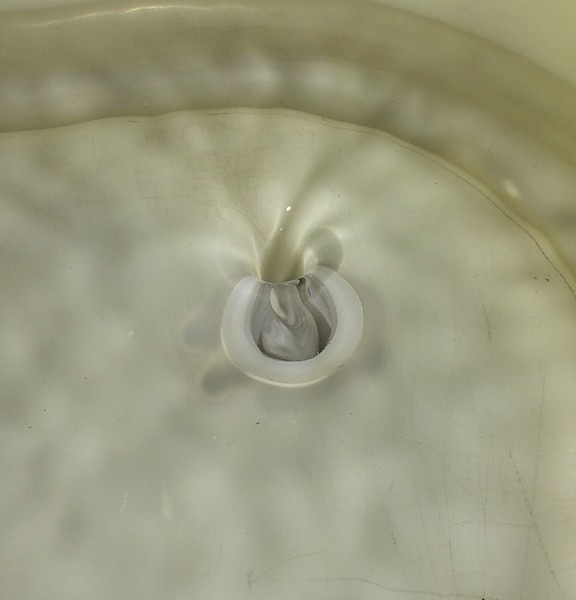
More pictures when I do the whole job
Subscribers do not see these advertisements
topcat57uk I regret to tell you that Andy (Techno ) died last month. We will all miss his technical contributions to the forum.Andy - looks like a great solution - can you post a list of components and can you let us know where you got your star washers from and what size?...sorry you might have already done this....many thanks in anticipation topcat57uk
Oh no....RIP Andy...and thanks for letting me knowtopcat57uk I regret to tell you that Andy (Techno ) died last month. We will all miss his technical contributions to the forum.